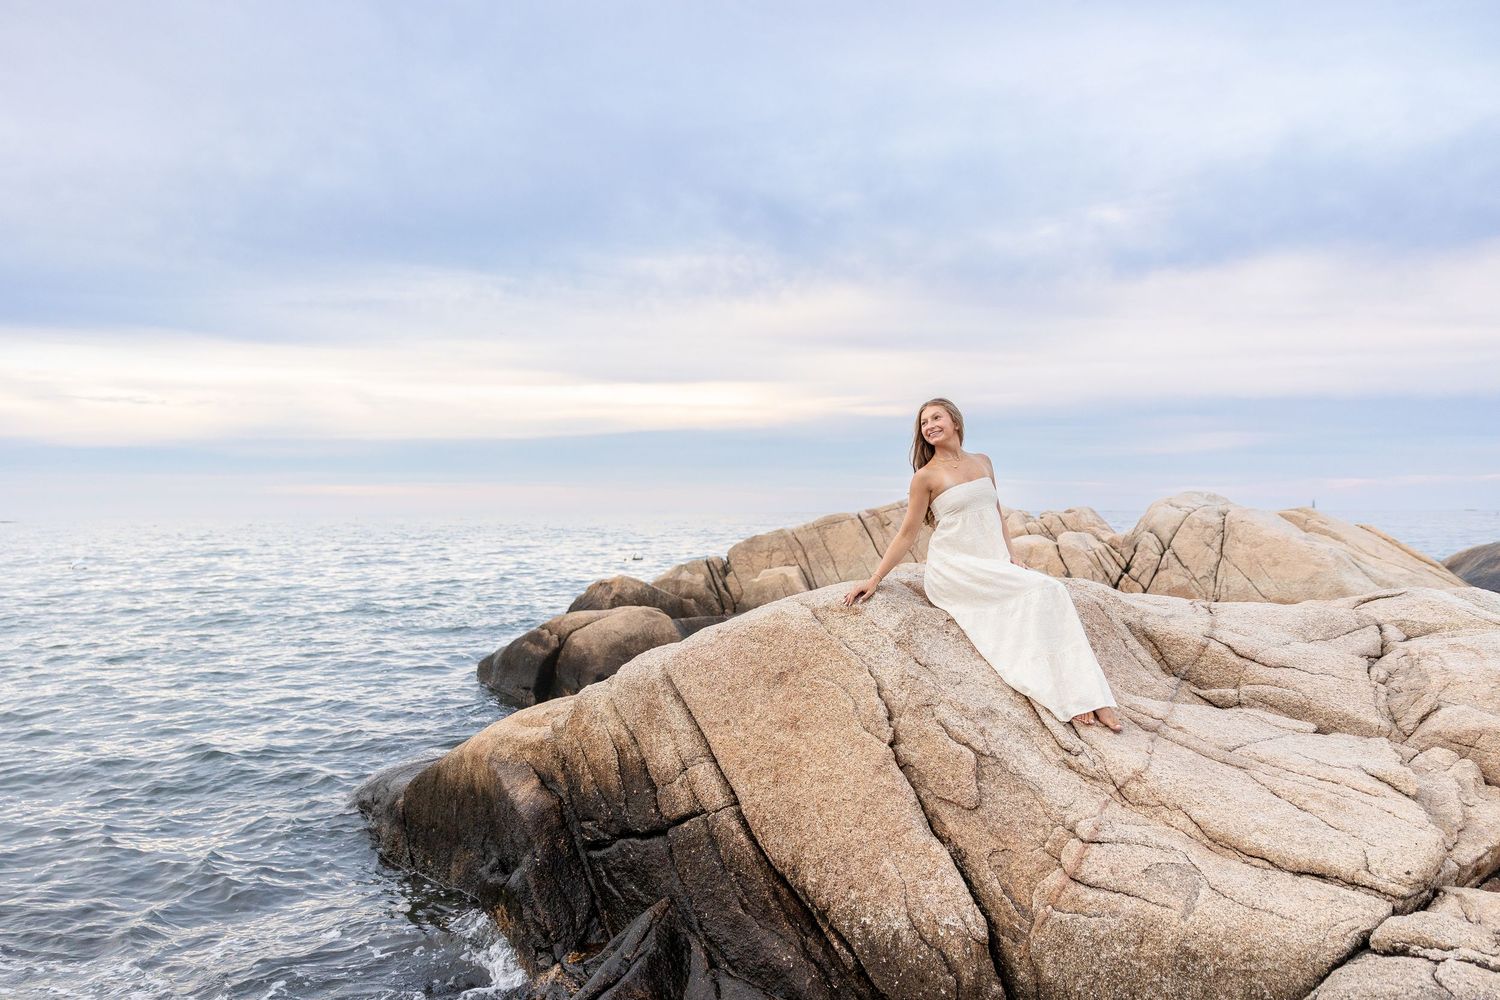
Your Senior Portrait Style Guide
Congratulations! This is such an exciting milestone. These photos are more than just a yearbook entry—they are a celebration of who you are in this moment. To help you look and feel your absolute best, I’ve put together this guide to help you prep for our session.
Color Palette: Light & Earthy
- When choosing your colors, think creams, tans, soft sage, muted blues, and warm whites.
- The Reflection Factor: Colors act like a natural reflector. Bright, "neon" colors can cast a strange tint onto your skin (a hot pink shirt can turn your chin pink!). Light neutrals and earthy tones reflect soft, clean light back onto your face, giving your skin a natural, creamy glow.
Texture Over Trends
- Fashion trends are fun, but they often age quickly. To ensure you still love these photos ten years from now, aim for timeless silhouettes.
- Simple Patterns: Small florals or subtle stripes work well. Avoid huge logos or busy, high-contrast patterns that distract from your face.
- The Power of Texture: Instead of a loud print, try textures like linen, chunky knits, lace, or denim. Texture adds "visual interest" and depth to a photo without being distracting. It makes the image feel high-end and tactile.
The "Move Test" & Comfort
- If you feel uncomfortable, it will show in your expression. We will be moving, sitting, and likely dealing with a bit of wind.
- Functional Fashion: Avoid outfits that require constant adjusting. If you’re worried about a "nip slip," straps falling down, or a skirt being too short to sit in, skip it!
- Test Drive: Put on your outfit at home. Sit down, raise your arms, and spin around. If you have to tug at it to make it look right, it’s going to be a struggle on the beach.
- Footwear: If we’re on the sand, go barefoot or wear easy-to-remove sandals.
The Two-Outfit Strategy
- Most seniors find that two distinct looks provide the perfect variety for a gallery:
- Look One: A flowy dress or a polished romper (the "elevated" look).
- Look Two: A great pair of jeans or linen pants with a cute top (the "casual/classic" look).


The Prep
Skin & Prep (The "Secret Sauce")
- The camera picks up more detail than the naked eye, so a little prep goes a long way.
- Hydrate: Drink plenty of water for 48 hours before your shoot. It sounds simple, but hydrated skin looks plump, clear, and radiant.
- The SPF Rule: Please be extra diligent with sunscreen in the days leading up to our shoot! A fresh sunburn is painful and very difficult to edit.
- Watch the Straps: In the week before your session, try to avoid wearing racerback or halter tops that leave "wild" tan lines. Correcting harsh tan lines or red skin adds hours to the editing process—staying protected helps me get your gallery back to you much faster!
- Iron & Steam: Wrinkles are very noticeable in high-resolution photos. Steam or iron your clothes the night before and hang them up—don't leave them in a bag!
Finishing Touches
- Nails: Your hands will be in many of the shots (near your face or on your hips). Make sure your polish isn't chipped, or go for a clean, natural look.
- Hair: Avoid trying a brand-new haircut or color the day before the shoot. Stick to what makes you feel like you. It doesn’t hurt to bring a claw clip in your bag just in case its a little breezy during your session!
Just Be You
- The most important tip? Relax. You don't need to be a professional model. I will guide you through every pose and movement to capture your natural smile and genuine personality. When you stop worrying about being "perfect," the best photos happen.
Pro Tip: Bring a small "touch-up kit" with a hairbrush, lip gloss, and some blotting papers or powder to zap any shine during the session!


